
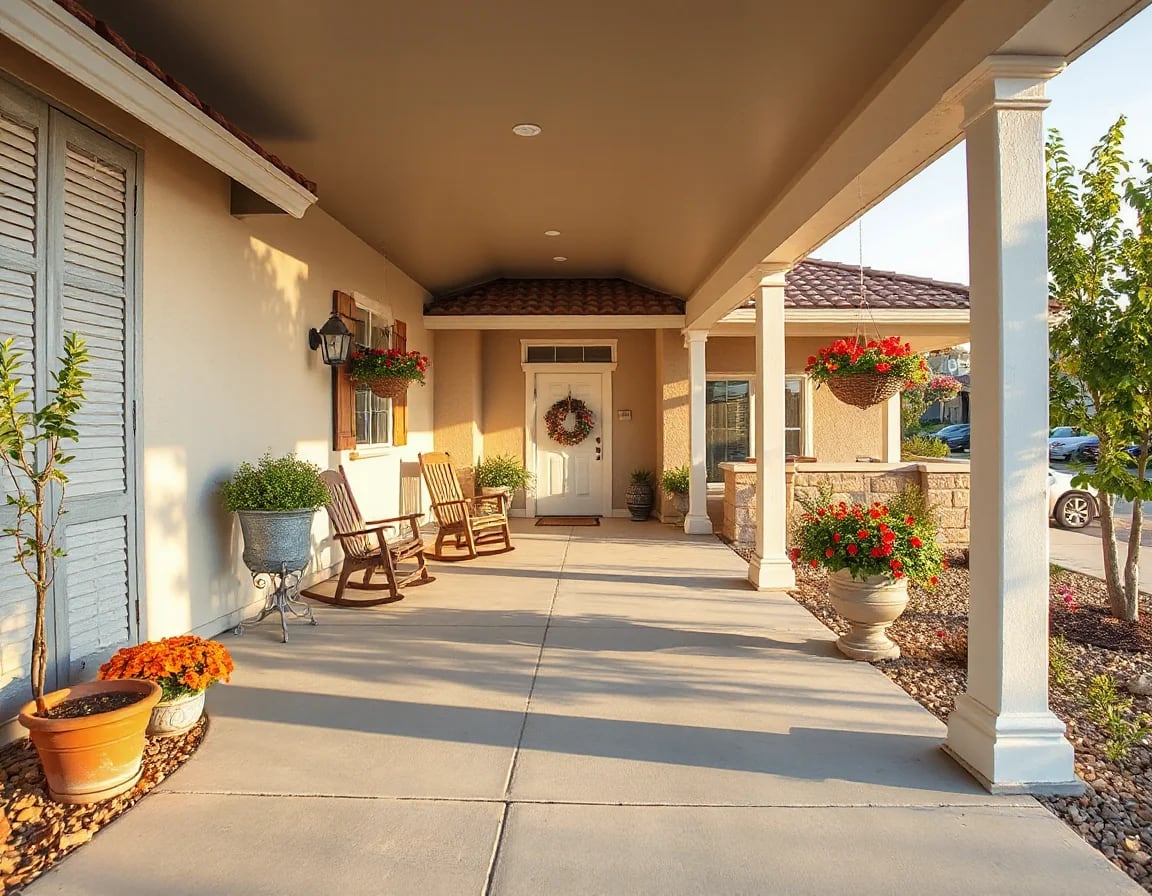
The homes that stand out online usually are not the ones with the biggest remodel budgets—they are the ones prepared with intention before the camera arrives. A few smart seller moves can make rooms feel brighter, layouts read more clearly, and exterior photos look more inviting from the first scroll. If you are planning to list in the Inland Empire, this checklist will help you focus on the prep steps that tend to create the biggest visual payoff.
1) Start with the camera’s point of view
Before touching a paintbrush or buying storage bins, walk through your home as if you are seeing it for the first time on a listing site. What photographs well is not always the same as what feels normal in day-to-day living. A hallway table that seems harmless in person can make a passage look tight in photos, and one oversized chair can shrink a living room on screen.
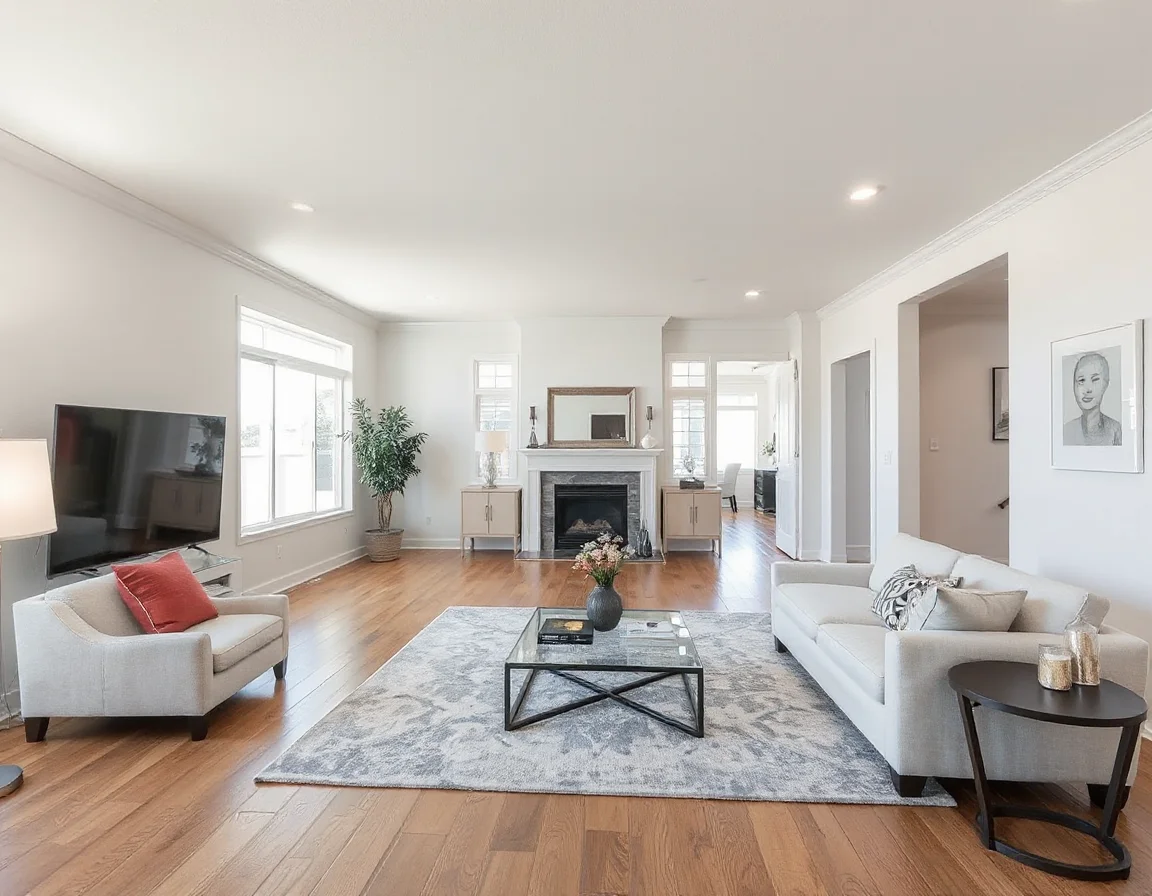
That is why one of the best prep moves is simply editing the space. Remove anything that blocks visual flow from doorway to window. Open blinds, straighten rugs, hide cords, and clear the surfaces that catch attention first: kitchen counters, bathroom vanities, entry tables, and nightstands. The goal is not to erase personality; it is to let the room’s size, light, and function show up clearly.
Jessica Terpstra’s listing approach emphasizes strong marketing assets, and that starts long before the final images hit social media or the MLS. A home that reads clearly in photos gives every other part of the marketing plan more power, from the first online impression to printed materials and open house traffic.
If a room has three focal points, the camera usually weakens all of them. Choose one feature to lead each photo—such as a fireplace, island, or picture window—and simplify the rest.
2) Declutter for shape, not just cleanliness
Most sellers hear “declutter” and think about tidying up. Photo-ready prep goes a step further. It is about helping each room communicate its purpose instantly. Buyers scrolling quickly through listings tend to pause when spaces feel easy to understand: dining area, home office nook, guest room, covered patio, bonus room. If the use is fuzzy, the image loses impact.
That means removing extra furniture that makes a room feel crowded or confusing. A spare bedroom may photograph better with one bed and two simple side tables than with gym equipment, storage boxes, and a desk competing for attention. In the kitchen, fewer countertop items often make the room look larger and brighter. In closets, leaving breathing room around hanging items makes storage appear more functional.
Think in terms of visual edges. Floors, baseboards, table surfaces, and corners should be visible. When those edges disappear under too many objects, rooms read smaller in photos than they do in person.
3) Use paint and patching where the lens notices most
Not every home needs a full pre-listing overhaul. In many cases, strategic cosmetic work is enough to sharpen the final presentation. Fresh touch-up paint, patched nail holes, recaulked bath edges, and repaired drywall dings can make a surprising difference because professional photography highlights inconsistencies that daily life teaches people to ignore.
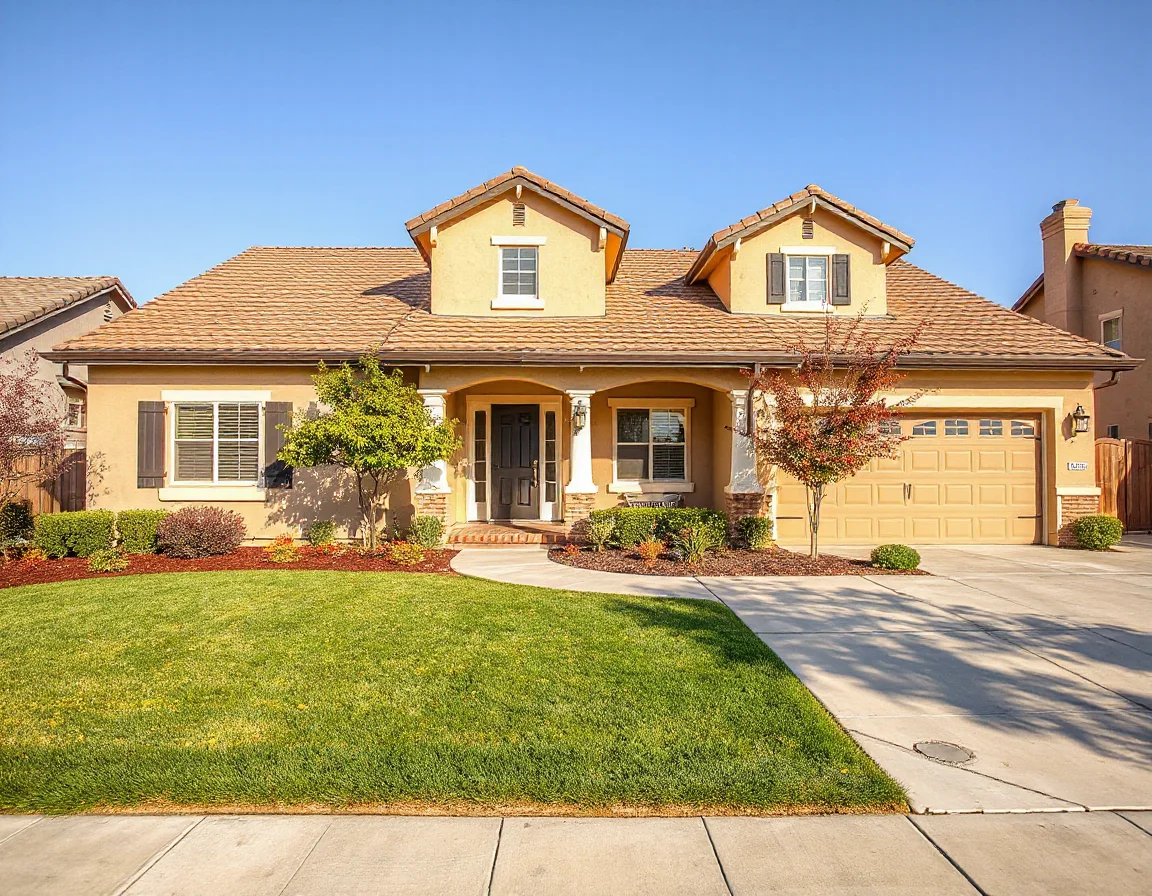
Focus first on high-visibility zones: the front door area, main living spaces, kitchen walls, bathrooms, and primary bedroom. Neutral, cohesive color palettes usually photograph better than highly saturated accent walls, especially when the goal is to show scale and natural light. This does not mean every room must become identical; it means abrupt visual distractions should be reduced before shoot day.
The same idea applies outside. Chipped trim, faded shutters, or a weathered mailbox can pull attention in the wrong direction. In listing photography, small maintenance items often feel larger than they are because they sit still in a frame and keep drawing the eye.
Sellers often get the best return from repairs that are inexpensive but highly visible in photos: paint touch-ups, light fixture updates, fresh caulk, and tidy landscaping edges.
Done thoughtfully, these updates help the home feel cared for without requiring a major renovation budget.
4) Prioritize lighting in every room
Photography loves light, but it also notices when lighting is inconsistent. One warm yellow bulb in a row of cool white bulbs can make a room feel uneven on camera. Burned-out bulbs, dim corners, and heavy window coverings also reduce photo quality fast.
Before the shoot, replace bulbs so color temperature matches from fixture to fixture. Clean windows inside and out if possible. Remove dense screens or dark drapes when appropriate, and make sure every lamp and overhead fixture works. Even homes with excellent natural light benefit from balanced artificial lighting because photographers often shoot multiple spaces in sequence and need consistency throughout the property.
Pay extra attention to bathrooms, kitchens, hallways, and covered outdoor areas. These are spaces where shadows tend to collect and where stronger lighting can make finishes, storage, and circulation patterns easier to read in images.
5) Give the front exterior a true “first-click” upgrade
Online curb appeal matters because the exterior photo often becomes the listing’s opening image. If the first image feels flat, cluttered, or neglected, some buyers may never click through to see the rest. Fortunately, the prep list here is usually manageable: mow, edge, trim, sweep, pressure wash hard surfaces where needed, and remove hoses, bins, and extra vehicles from the immediate frame.
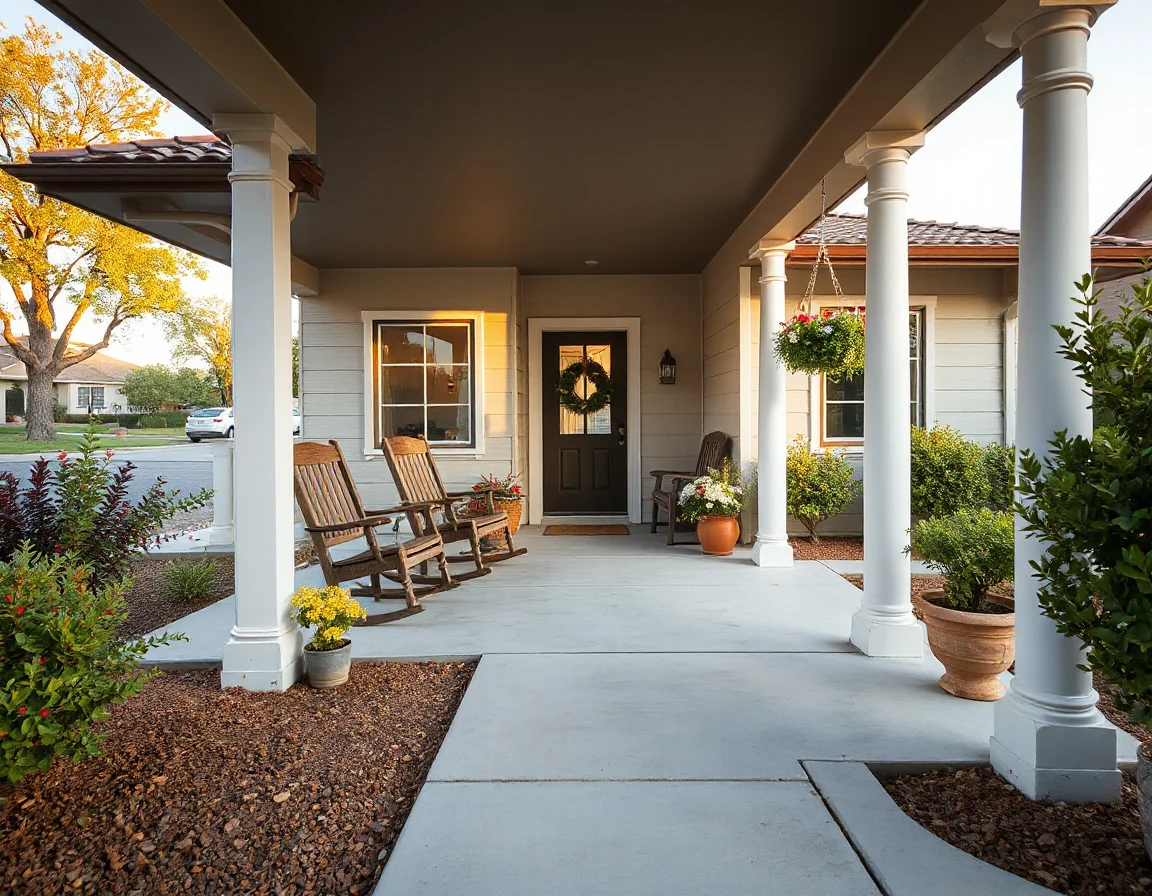
Simple greenery, a fresh doormat, and a clean front door can go a long way. If the season is especially dry, consider refreshing mulch, replacing tired plants, or adding a few well-placed potted containers near the entrance. The objective is not to create a different property—it is to make sure the one people arrive at online looks polished and intentional.
Backyards and patios deserve attention too. Sweep surfaces, straighten seating, clear excess play items or tools, and make sure outdoor cushions look clean and coordinated. In Southern California markets, outdoor living areas can be an important part of the photo story.
Talk with Jessica about listing preparation
6) Stage kitchens and baths with restraint
Kitchens and bathrooms tend to be detail-heavy spaces, which means they can look busy very quickly. For photos, restraint usually wins. Put away dish soap bottles, sponge trays, extra small appliances, countertop organizers, bath products, and personal items. Leave only a few intentional accents if they contribute to a clean, finished look.
In kitchens, a clear island or a mostly open stretch of counter often photographs better than decorative clustering. In bathrooms, crisp towels, a clean mirror, and an uncluttered vanity do more work than elaborate styling. Keep toilet lids down, bath mats simple, and shower glass spotless.
These are also rooms where reflective surfaces matter. Stainless steel, faucets, mirrors, and shower doors should be polished because streaks and fingerprints show up quickly in high-resolution photography.
7) Don’t forget storage spaces, utility areas, and pet-related items
Photo-readiness is not limited to the “pretty” rooms. Laundry rooms, mudroom-style drop zones, garages, and closets all contribute to the perception of how a home lives. They do not need to look luxurious, but they should look orderly and usable. Lined-up bins, folded items, swept floors, and visible wall space help these areas come across better in both photos and in-person showings.
If pets are part of the household, pack away beds, feeding stations, litter boxes, crates, and toys for the shoot. This is less about hiding life and more about keeping attention on the space itself. The same rule applies to highly personal collections, large seasonal décor, and stacks of paperwork.
Anything that interrupts the eye’s ability to measure size, storage, or flow is worth reconsidering before the photographer arrives.
8) Time the prep so the house stays show-ready
One of the most common seller mistakes is finishing preparation too late. Deep cleaning the night before photos can leave everyone stressed, and last-minute fixes often create more visible mess than they solve. A better plan is to stage prep in phases: repairs first, then paint and touch-ups, then decluttering, then cleaning, then styling.
This approach matters because the photos are usually just the beginning. Once the home looks great for photography, it is much easier to carry that momentum into showings, digital marketing, print materials, and open houses. A well-prepared property does not just photograph better; it tends to feel easier to maintain throughout the launch window.
9) Work backward from the marketing date
The strongest photo-ready results usually come from having a clear listing timeline. If you know when you want the property to hit the market, count backward and give yourself room for prep decisions, vendor scheduling, cleaning, and photography. That buffer helps avoid rushed choices and makes it easier to focus spending on the updates that show best online.
With a marketing plan that includes photography, social media, print exposure, and in-person presentation, preparation becomes part of the overall strategy rather than a scramble. That is especially useful in the Inland Empire, where homes may be competing across a range of price points, lot sizes, and neighborhood styles. Good photos do not replace pricing or presentation in person, but they can absolutely improve how many people decide to take the next step.
In the end, making a home photo-ready is about clarity. Clean sightlines, bright light, pared-back styling, and a polished exterior help online buyers understand the property quickly and remember it after they scroll away. If you are preparing to sell, the right pre-listing moves can make your home feel stronger before the first showing even begins.